


This is the second part of a two-part series.
Part 1 (Server Prep – Setting up the server)
>>> Part 2 (Kimchi Set-up – Getting things going) <<<
This part focuses on configuring Kimchi storage, network, and templates so you can get your first VM going.
Kimchi Set-up
After you have completed Part 1, you should be at the point where you can remotely access Kimchi via the https url. All of the following steps are done remotely via your web browser. I’ve found Firefox to give the best experience.
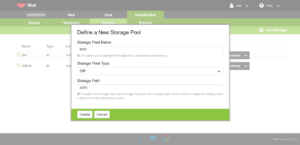
- Set up your storage:
- Click the Virtualization tab, then the Storage tab.
- Then click Add Storage.
- Storage Pool Name: DATA
- Storage Pool Type: DIR
- Storage Path: /DATA
- Click the Actions drop-down button and click Activate.
- Click Create.
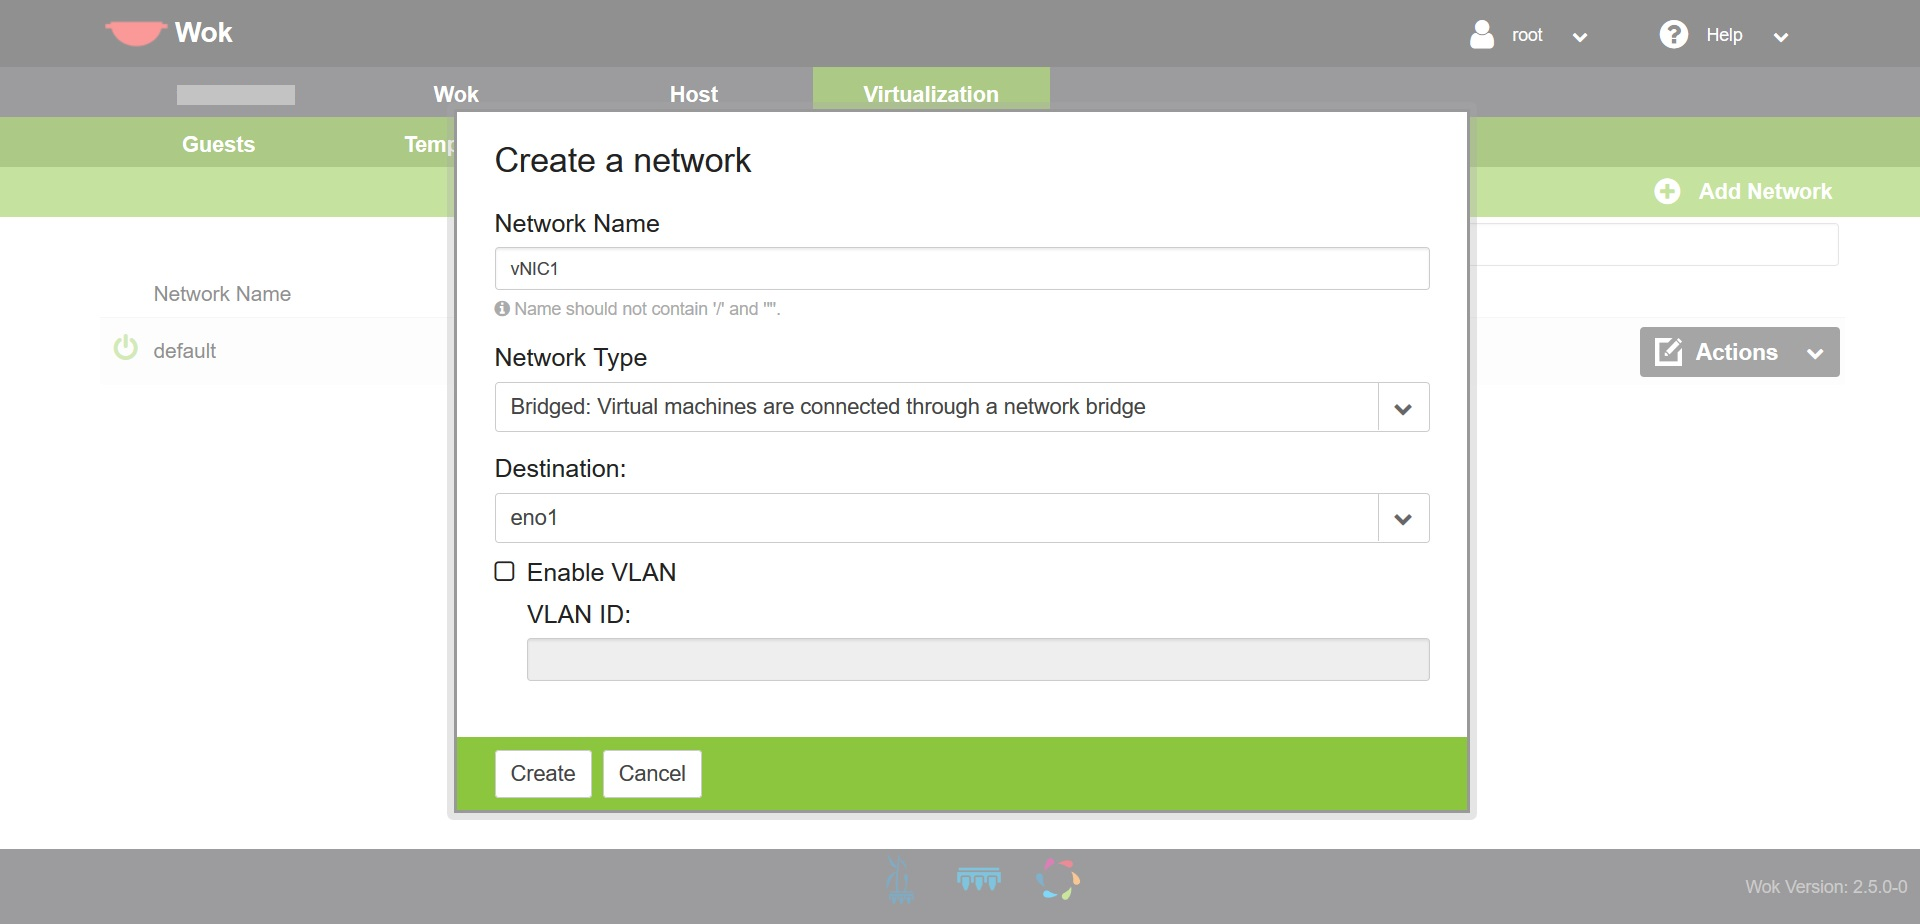
- Set up your network:
*Note*: This is just a demo, so I’m only using a single NIC on this host.- Click the Network tab, then click the Add Network button.
- Network Name: vNIC1
- Network Type: Bridged
- Destination: eno1
- Click Create. (may take a minute)
- Click the Actions button next to the new network you just created, then click Start.

- Click the Network tab, then click the Add Network button.
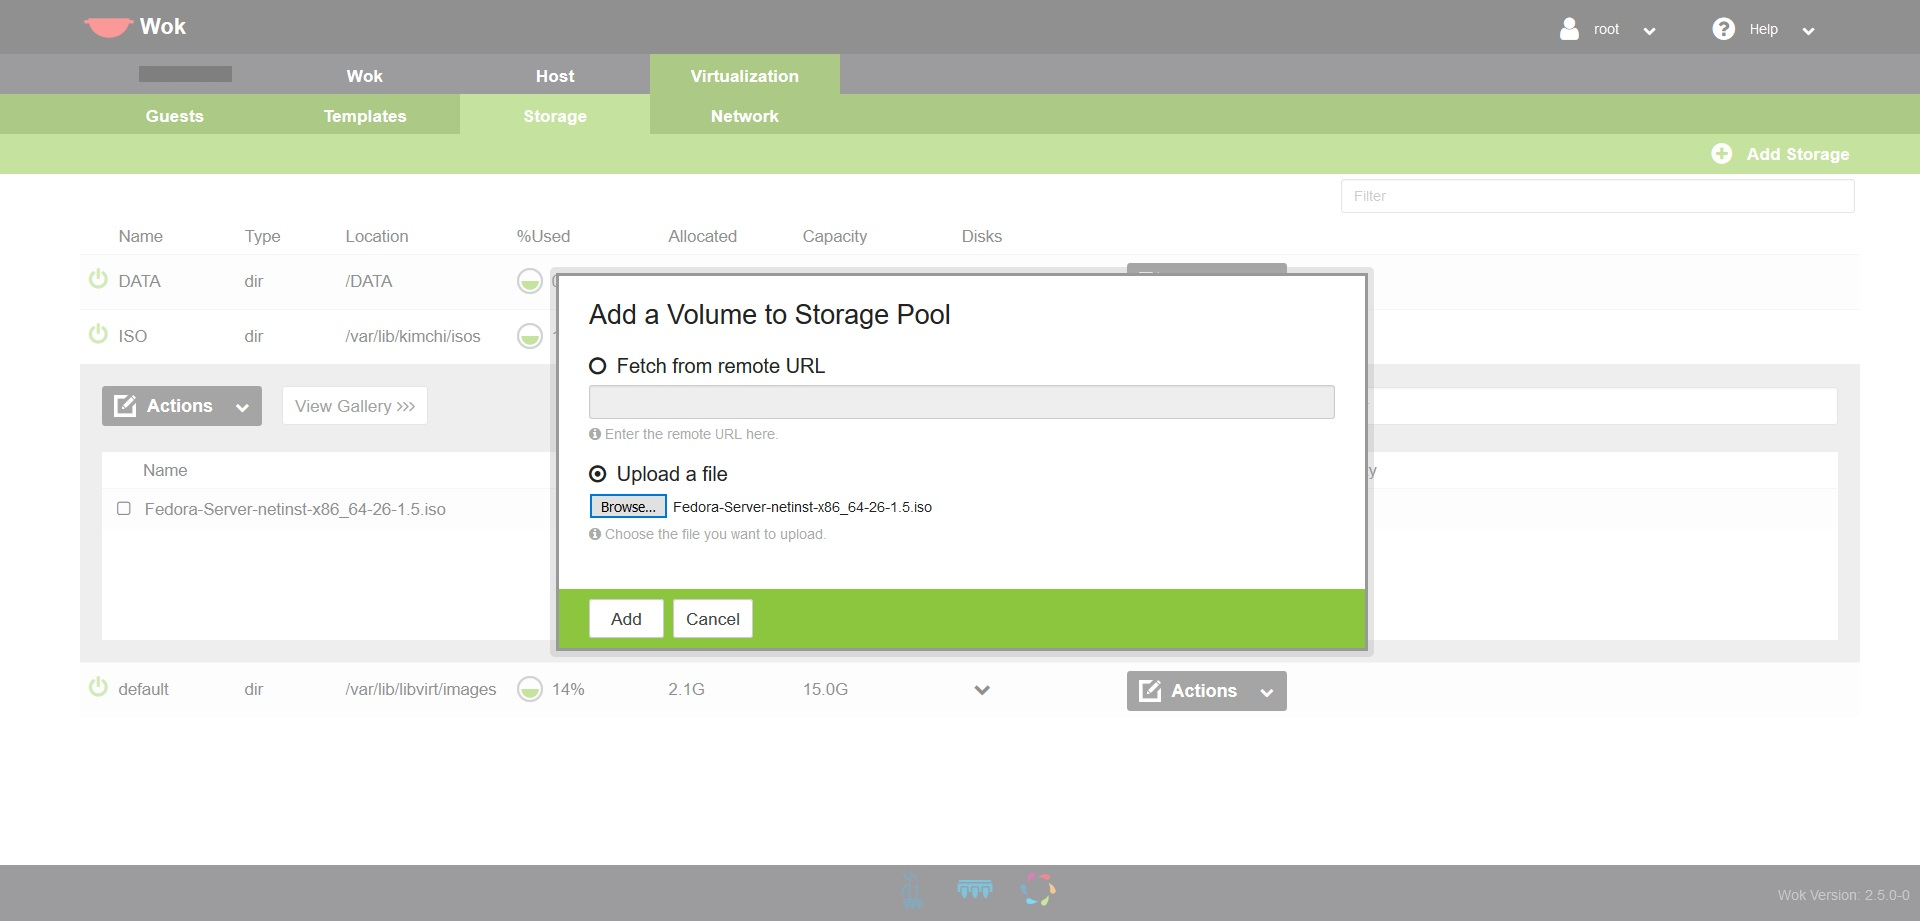
- Upload .iso to use in templates:
- In Virtualization, click the Storage tab.
- Click the drop-down arrow, then click the Actions drop-down and click Add Volume.
- Select Upload a file, browse to your .iso and then click the Add button.

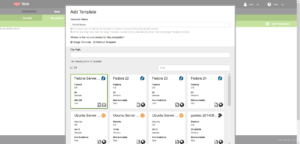
- Create a template:
*Note* There’s an issue with selecting the image you just uploaded, so select an existing built in one, such as Fedora 24. Then, when you create a VM, before turning it on, edit the cdrom/.iso path to the one you uploaded above. See the issue on GitHub for more info.- In Virtualization, click the Templates tab, then click Add Template.
- Type a Template Name, select the Fedora24 image, then click the Create button.
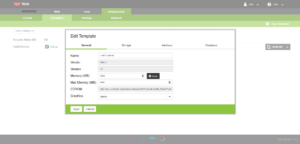
- Configure above template:
*Click the Actions drop-down, then click edit.- In General tab:
- Change the Memory and Max Memory to your liking.
- Ignore the CDROM location, you will change it in your VM settings before you turn it on the first time.
- Change Graphics to SPICE. (VNC will not work; I haven’t figured out why yet)
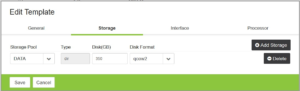
- In Storage tab:
- Storage Pool: Change to DATA (or appropriate).
- Disk: Set to desired virtual disk size.
- Disk Format: Set to desired format.
- In Interface tab:
- Select appropriate Network.
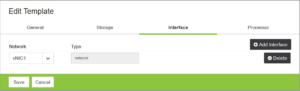
- Select appropriate Network.
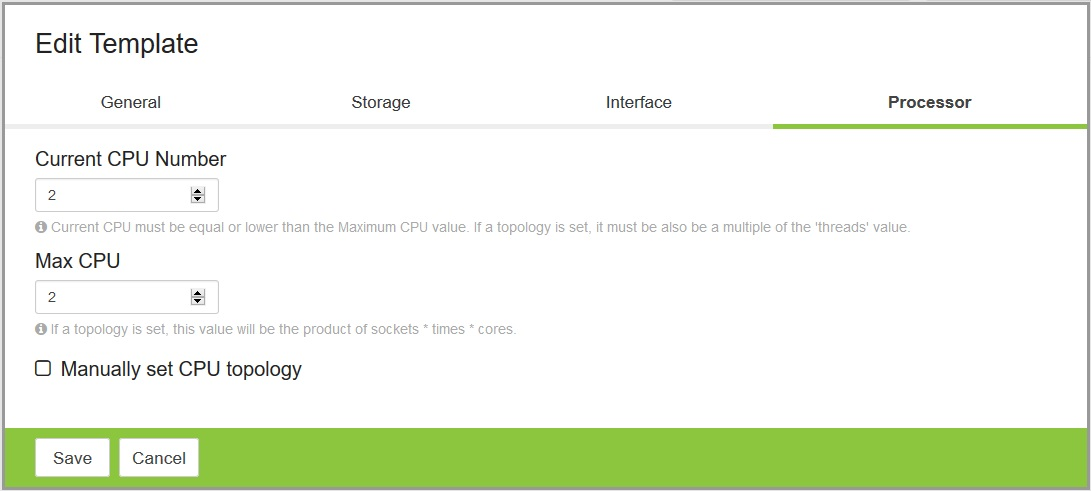
- In Processor tab:
- Change Max CPU first, to desired number, then Current CPU Number if appropriate.
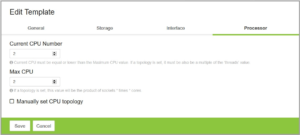
- Change Max CPU first, to desired number, then Current CPU Number if appropriate.
- Click Save.
- In General tab:
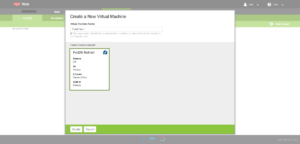
- Create a VM (Guest):
- In Virtualization, Guests tab, click the Add Guest button.
- Type in a name, choose your template, then click Create.
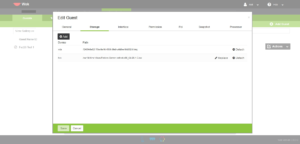
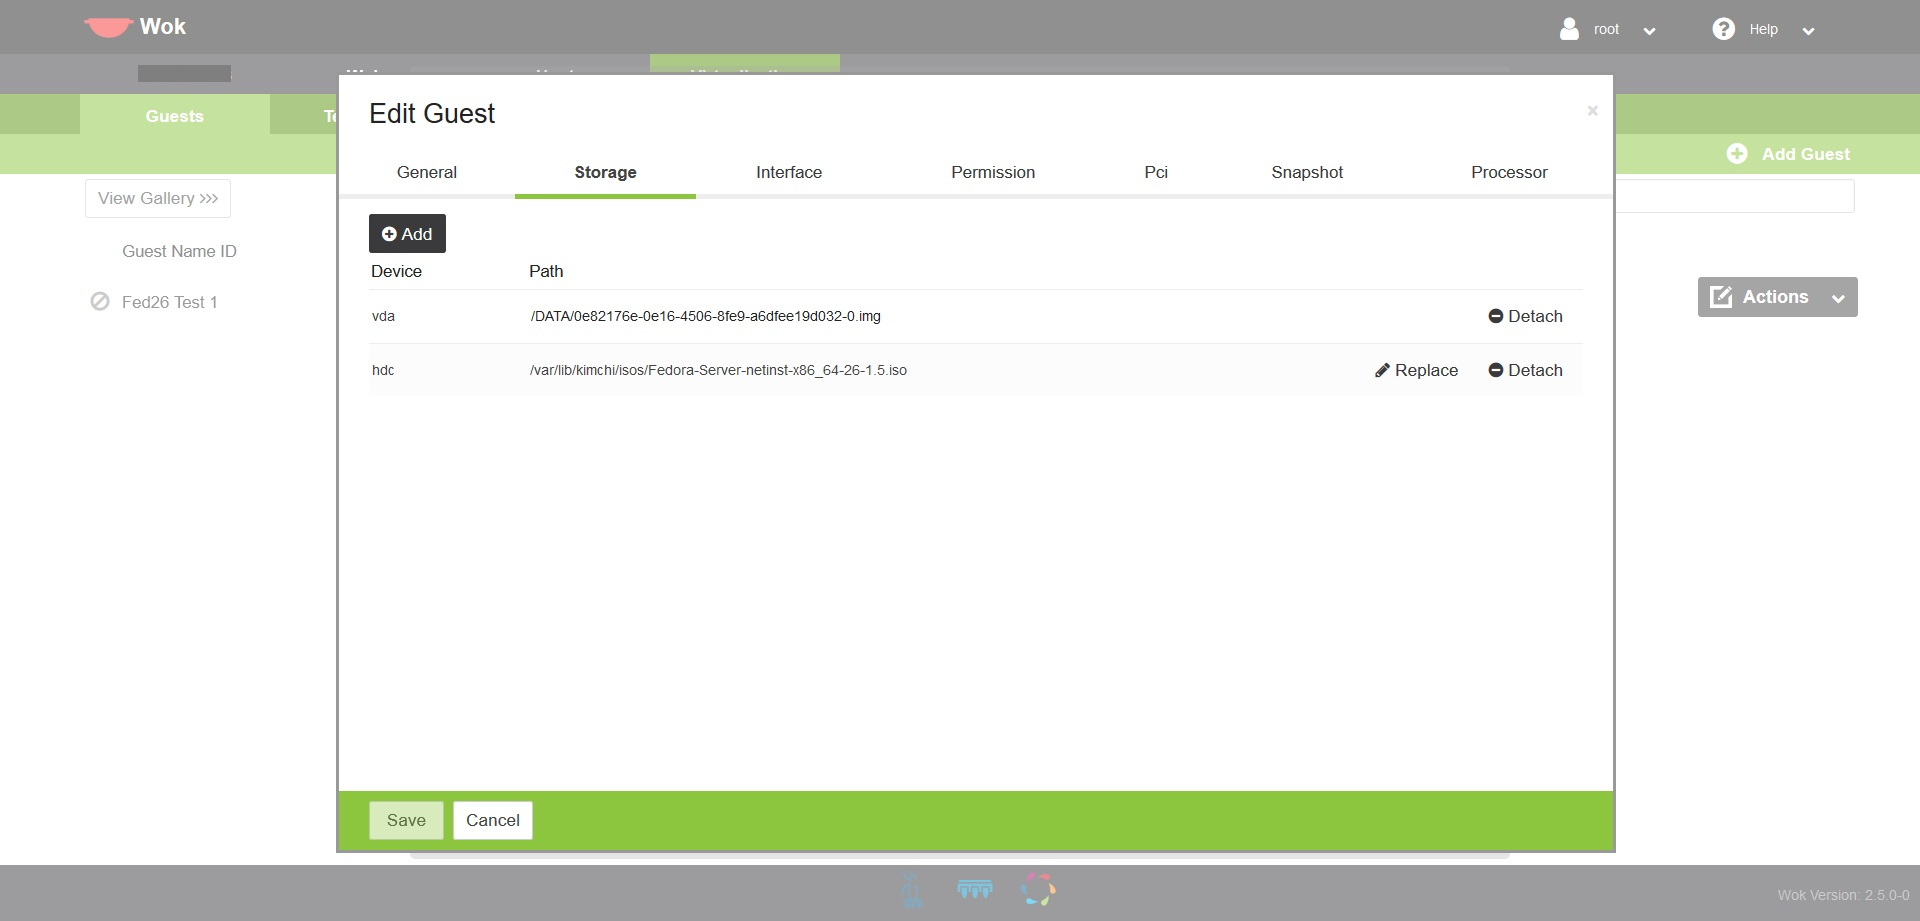
- Configure VM (Guest):
- Here we need to change the cdrom / .iso location as noted in step 18.
- Click the Storage tab, then click the Replace button next to the hdc or .iso device, and change it to where your .iso is located; in /var/lib/kimchi/isos/yourisofile.iso
- Then click the Save button, and use the Cancel button to close the Edit Guest window.
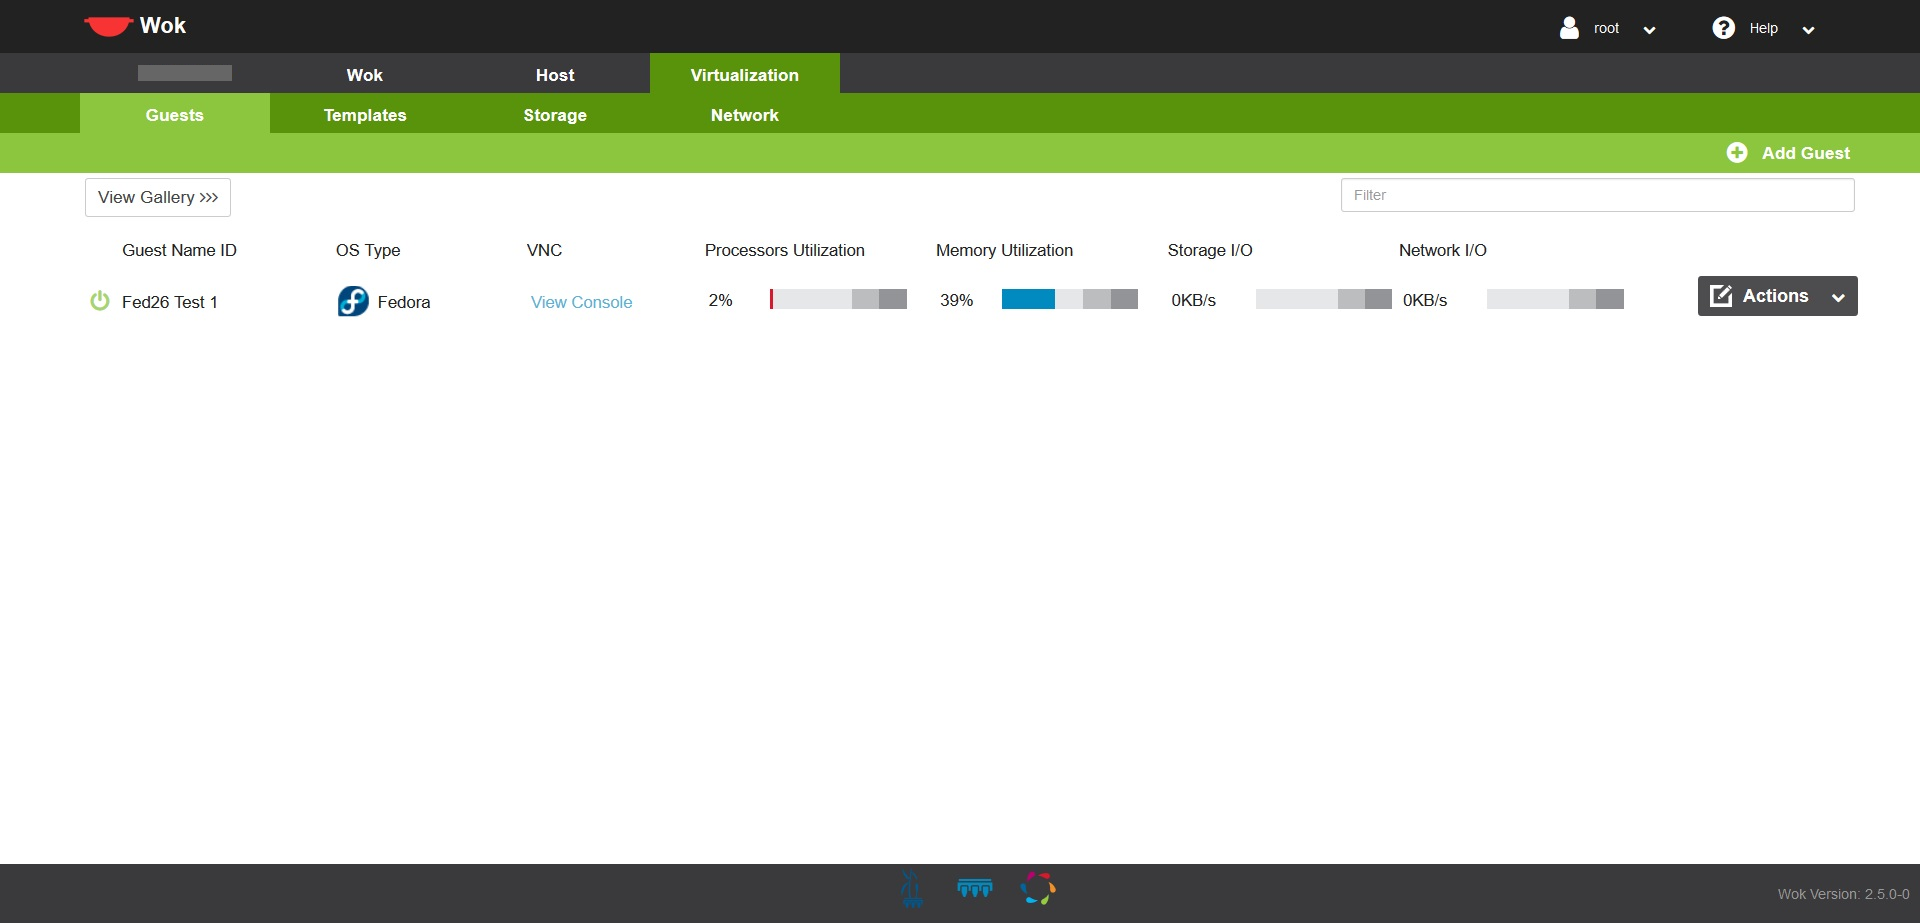
- Go time!
- Click the Actions button next to your new VM, and click Start.
- It should now start without issue.
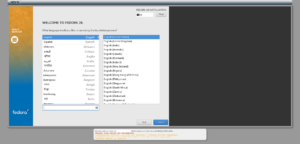
- Click the View Console link to view your VM from your browser. I’ve had the best results with Firefox. You should now be seeing the Welcome Fedora 26 Installation screen!


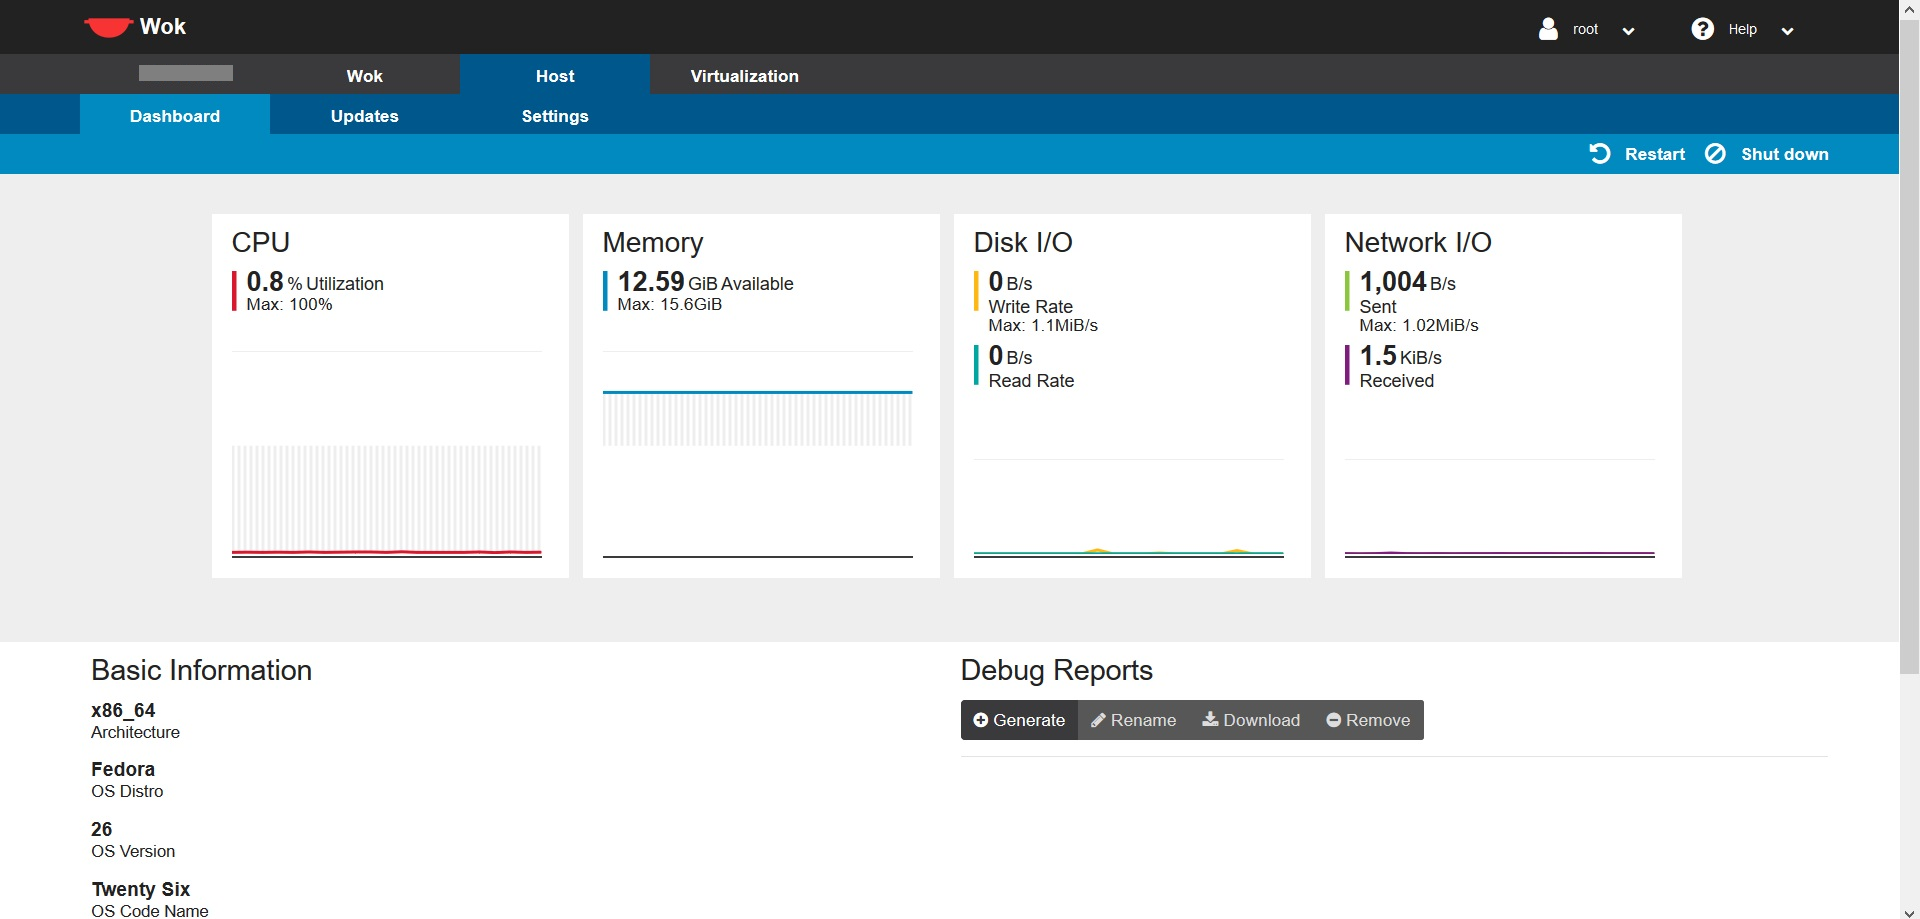
Check out the Host tab Dashboard to see your server’s resource utilization.
Final Result
Fresh VM, booted to OS install disk (step #8):
Installed Fedora 26 Server Edition inside the VM, then installed MATE Desktop to see what it looks like in the web-based console:
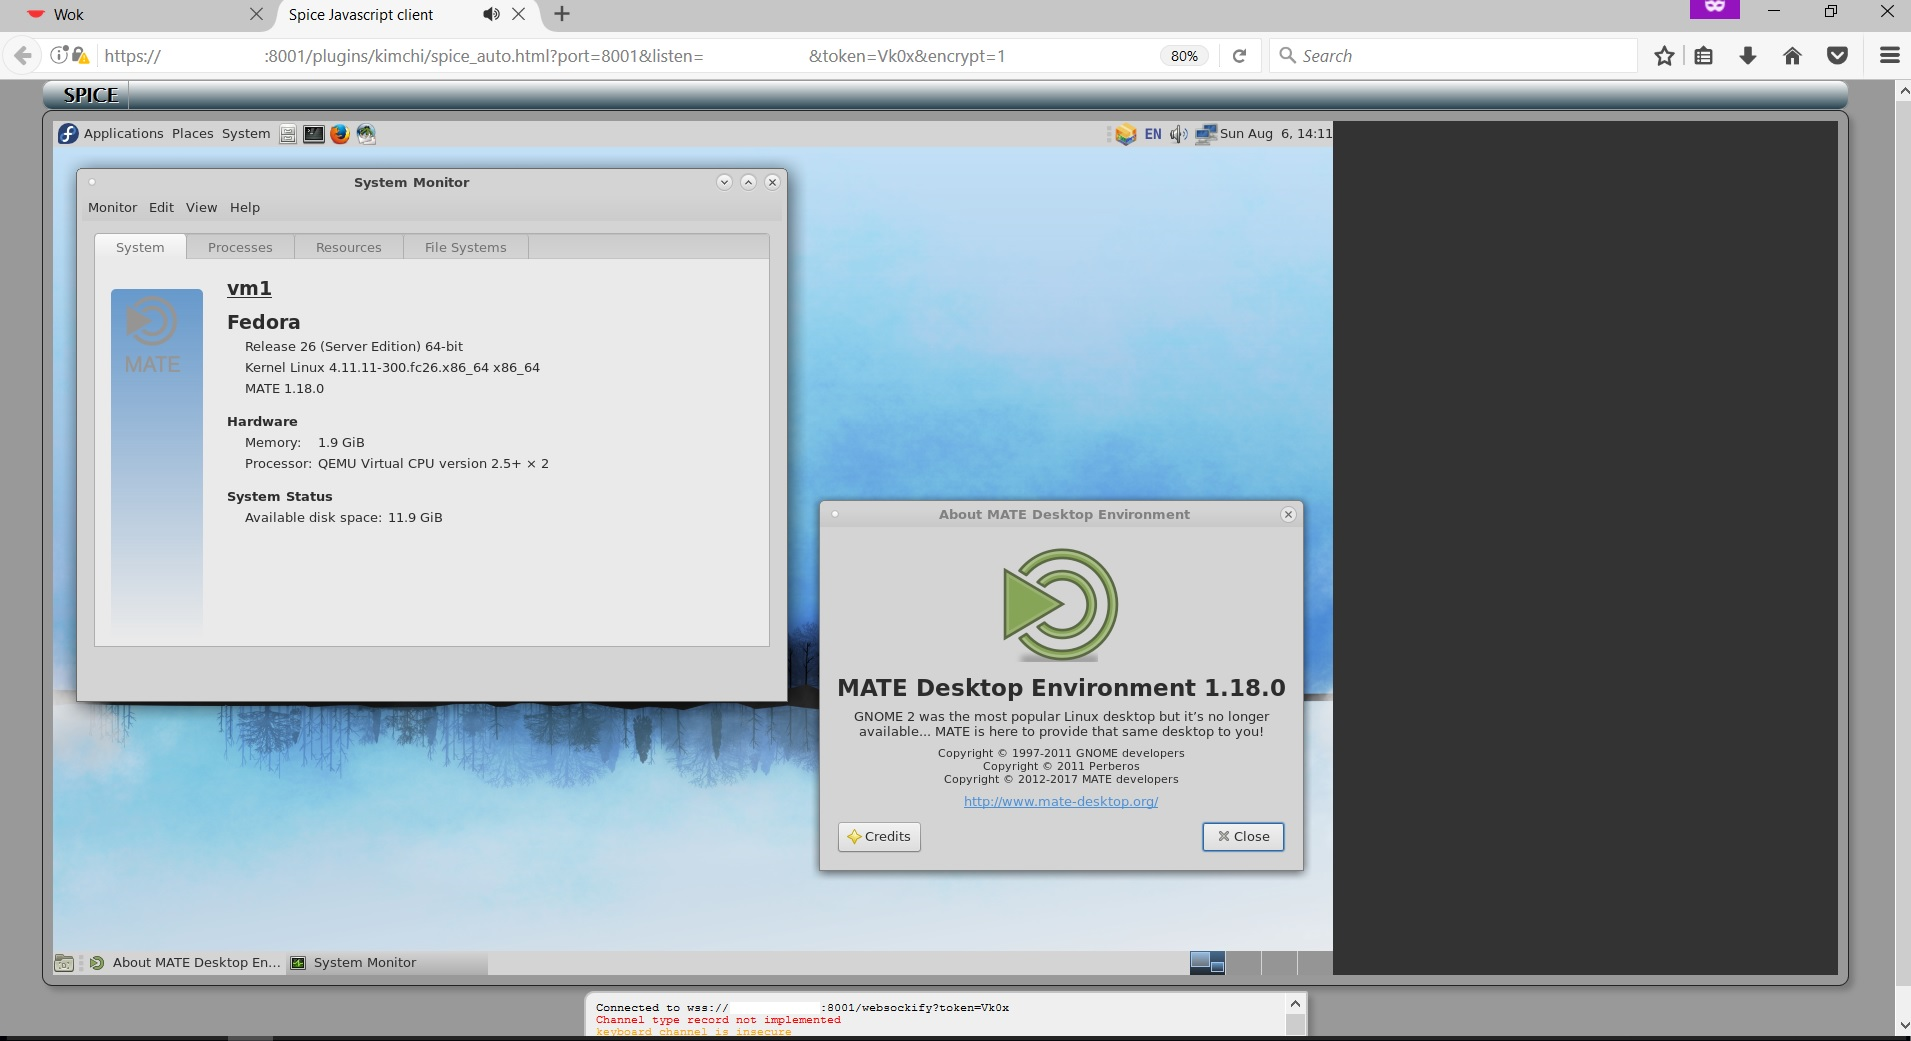
The performance is excellent.